Choosing My First Lens

New dilemmas and new questions, What kind of lenses do I wanted to have? The list was long, I wanted a telephoto lens, I wanted fast prime lenses, I was dreaming of everything, yes but which ones?  Nikon, another brand less expensive like Tamron or Sigma? I really couldn’t tell and actually, even on the web I couldn’t find any help, as it happened before, too much information, in some blogs  Tamron and Sigma were excellent lenses with attractive prices, while others were affirming exactly the opposite. For someone that was starting photography I was lost, so what I did? I looked for the only person I was trusting in, my “friend” John Greengo,  in his course “Fundamentals of Photography” there was an entire chapter about objectives and lenses. Obviously, during the course Mr. Greengo is never telling which one you have to buy, however his advice was:

 “Try to have the best lens possible taking to account price and quality, as your lens will be your eyes and your pictures will depend a lot on the quality of your lens”.

So,  I translate it into this: if a good lens cost $ 1000 and the same of a less quality brand cost $100, I think that there could be problems or some lacks of quality somewhere in the cheapest one. So, as I decided to buy a good camera, I decided to invest in excellent lenses. The mission was a little bit trickier compared to when I bought my gear, because there were different kind of lenses with the same focal length from the same brand, so which one was the best compromise between price and quality? Even my friend Francesa could not help me, so I started to google for reviews, and I  found someone awesome: Ken Rockwell. This guy is amazing, (I call his website my Photo-Bible) it’s the most useful site I have ever used. Ken reviewed so many lenses and cameras of multiple brands that I’m pretty sure you’ll find all the information that you need. So, My advice is, if you don’t know what lens to buy, and you don’t know anyone to help you, have a look at Ken rockwell website.

My firsts lens I bought was a 55 -200 mm and I paid 80€, I knew that It was not the sharpest lens on the market, but I was still learning, right? So,  there were no scratches at all, it was working correctly, I could afford the price, I was totally happy! Finally, the total amount of my expenses were: 650€  for the gear (D5300) + my new lens. My bag had now two lenses: an 18-55 and the 55-200, and It was still cheaper compared to the shops prices.

So, my final piece of advice is to buy the best lenses you can. Lenses are important, but when you start you can always use old versions or second-hand ones and still reach your goals, learn, and continue to improve yourself!

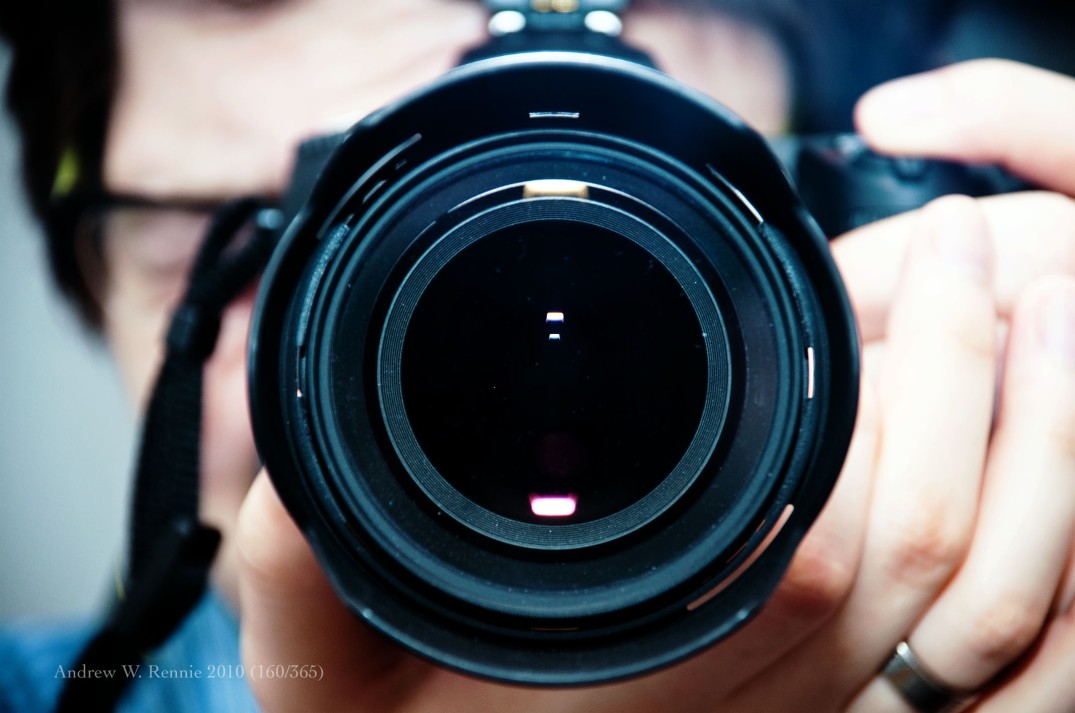
how to buy your first camera lenses
Photo Credit by Cheddarcheez

Now I Have a Camera, so What?

I don’t know if you read my two previous posts: How I became a Photographer and How I’ve chosen my First DSLR camera that I published, so, in case you read me for the first time, this is the third one where I share my story of how Photography changed my life. I hope I could inspire you a little and give you some useful advice.

… €600 later I was finally home keeping that beloved gear in my hands. when I realized that, I didn’t know how to shoot.  Except the automatic mode. So, I started to read the manual that was in the box,  was that useful? Not really as I could not understand a clue, I could clarify my some fog concerning some buttons, but not really when I was supposed to use them, so what?

I needed a course, a school,  a book, youtube, or someone patient that could explain me from A to Z of digital photography. Here in Brussels, I knew an academy of arts where I had already followed painting and sculpture, and I knew that there were also photography classes. My i-first move was to look at their program,  there were classes on Wednesday evening from 5 PM to 9 PM, I was so happy, at least until I saw the program.  I realized that the course was not a class for beginners or people like me,  someone who already had done photography the old way but was holding a DSLR camera in her hands for the first time.

I suddenly realised another little problem;  I have an 18 months daughter at home with me, and my husband who is in the scientific researches field had such irregular working hours, that it was too just impossible to regularly attend classes. So, the only thing left was my best friends Internet.  I started looking for tutorials on youtube, but I didn’t find anything that corresponded to myself until I arrived on the Creative Live website. There were live courses which were for free, and then in their courses list, I’ve seen this one: Fundamentals of Digital Photography 2014 with John Greengo. $99 ( Now you’ll find Fundamentals of Digital Photography 2015) . That was almost the price of one year at the academy, and at the end of the course I had not even a piece of paper telling that I followed a course, moreover, who was that Mr. Greengo? Was that a useful class? I looked at Mr. Greengo website, actually yes, there were beautiful photographs, and then I looked at reviews ( a thing that I learned to do almost on everything I buy on the internet). I checked to see if someone was disappointed about that creative live website, and there were no negative articles, comments or reviews, then I looked in the Creative Live discussions about the Fundamentals of Photography course, and there were only a few, and a woman wrote this:

This has been probably the best introduction course to digital photography that I’ve ever viewed. It blows away all the other courses I’ve taken, including NYIP.”

This comment was what gave me confidence in buying the course, this what pushed me to choose it, and I was right.  I love John Greengo way of teaching, I love his course, couldn’t stop to watching the classes, every day as soon as the baby was at the nap,  I was in front of my computer watching his classes, doing the exercises and having fun.

30 hours later, what did I learn from that course? It’s simple: everything. How to use my camera in manual mode (exactly what I was looking for). I also discovered that I had a crop sensor and not a full frame, I learned how to choose my lenses, how to set the exposition, the ISO, the focus, how to have a shallow depth of field or the opposite and how to have sharp photos. All the technical knowledge that you need to start using your camera and the firsts steps of the composition.

What happened next? It’s not really difficult to guess, as soon as I begun to understand how my camera was working and what I could do with it I felt the need of having a new lens. Because suddenly I was too limited with only my 18-55 mm, and that was the beginning of a great buying & selling lenses love story.

italy landscape sea

5 Ideas for your Halloween photography

I’m a little bit late for this post because I’ve being working on some Photography courses & workshop that will available soon here in Brussels! Yep, I’m sooooo excited about that! However I think I’m still on time for giving you a few ideas for shooting some terrific Halloween images.

1 Levitation

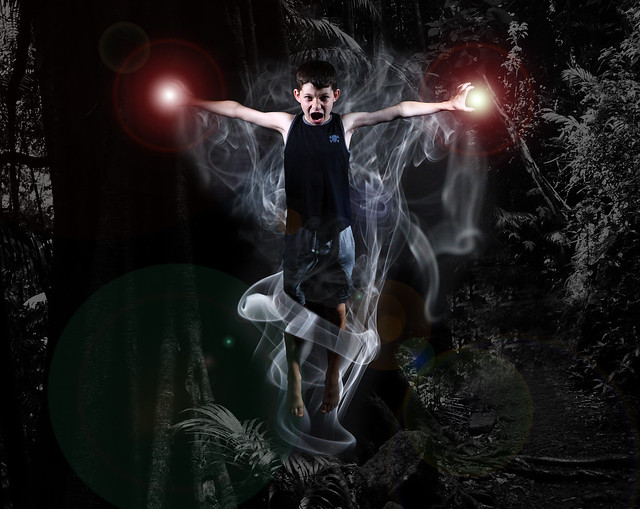
Levitation

Have you ever dreamt to be able to fly? Or to photogaph a flying person? I did, and actually with the correct moods levitation can transform a normal image into something creepy exactly what we like for Halloween. The first time I’ve seen those pictures I thought that it was the most difficult thing to do, but actually it isn’t. It’s obvious that you need patience, a nice locaiton, and a great composition (it’s not because you master your technique that your picture will be nice). In this levitation photography post, you’ll find videos tutorials you’ll find all the tips and explanations you need for your first trial and a bunch of inspiring images! So, once you have your theme (remeber that your pic has to tell a story to the people who are looking at it), don’t be afraid shoot and try, it’s just awesome!

2. Fog

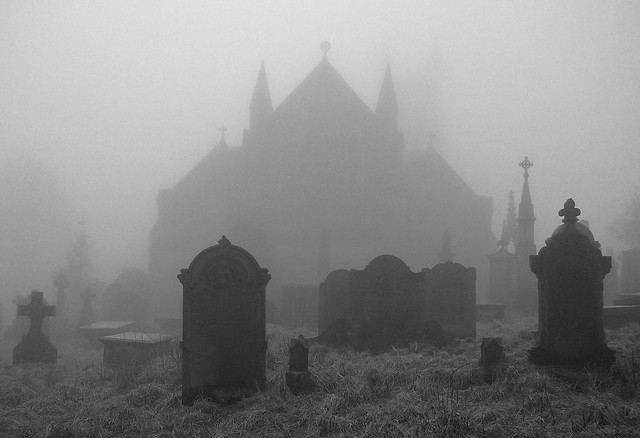
Fog 1

Fog, mysterious white, gray smoke that change immediately the feeling of any place, is something you can’t miss on Halloweed. Add it at your favourite location and you’ll have a complete different atmosphere. I understand that you can’t wait to have a foggy day to take your picture, that’s why there is a really easy way to add fog to your pictures using photoshop, and it’s very well explained in this 6 minutes photoshop tutorial, Photoshop:  how to create realistic fog and mist. It’s really easy, so, just take your photos, open them in Photoshop, follow the tutorial step by step and you’ll gave a scary foggy image.

3. Light painting
Light painting photography by Lucy J Hamilton
Olives Jar
Credits: Lucy J Hamilton
105 mm
ISO: 100
f/4.5
30 sec

I think that light painting can be adapted to many  occasions. Basically it depends what you are painting, imagine creepy old bloody masks, or broken dolls or anything that could tell a scary story. If you are new to light painting check this article I’ve posted, photography: light painting tips, you’ll find the direction needed to shoot in the dark, then just give freedom to your creativity and  take the dark path and paint your most scariest images!

4. Night Photography

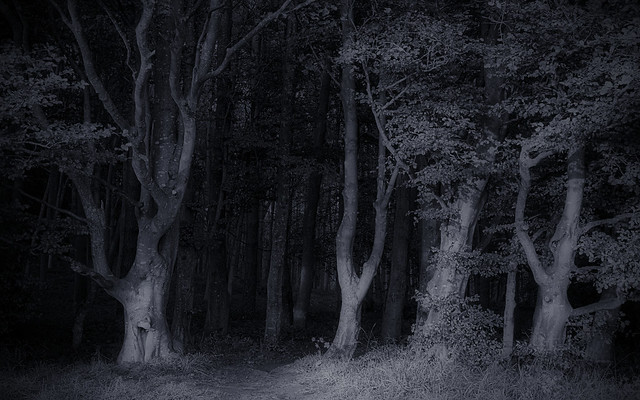
Spooky Woods

Isn’t night scary? everything  change during the night, the shadows and sounds became suddenly creepy creatures that come from another world. So, go out after sunset, try to catch shadows, moods, look for mysterious locations, solitary houses, barns,empty shops, Look for images that will tell scaring stories. Ask to your friends to come with you, they could be perfect subsets for nights portraits!

5. Urbex photography

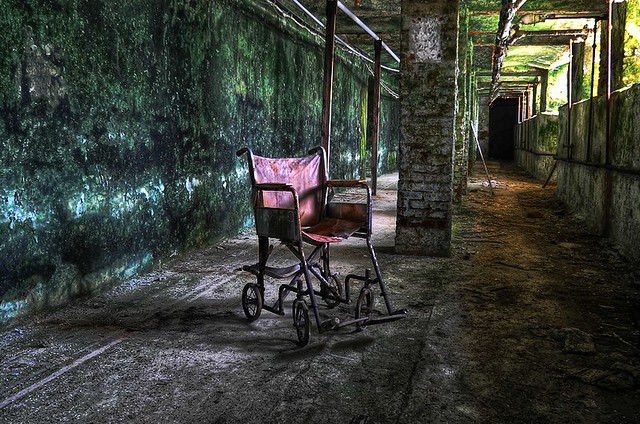
Moldy Assistance

Do you know any abandoned location near you? If not  look for them, take a tour in your neighbourhood and look for those creepy abandoned houses that are waiting for being photographed. However please pay attention, there are a few rules to follow.

FIRST please  pay attention! Abandoned buildings could be dangerous, even if fascinating, floors can be instables,  walls could fall apart, so my advice is NEVER GO EXPLORING ALONE, be at least with a friend, or a couple of people.

SECOND choose you gear and one lenses (max two), take your tripod  and go light, sometimes you’ll need to run, because there could be animals, or other people, or junkies, or maybe the place it’s just to small to pass through and you can’t have too much weight on you.

THIRD is not always legal, is not always possible to ask for permissions to enter into an abandoned place, so if you do not have permission but you’re about to get into a private doamin, please be careful, remember you are there to take pictures and not to ruin the place. Do not take anything away from the de site, do not leave garbage, respect your environment. If you really do not know where to go for your first Urban Exploration experience, or you don’t want to go alone and your friends don’t want to come with you, you’ll have here a list of nice websites that are sharing the locations and some communities that you can join.

http://www.forbidden-places.net/explo1.php

http://www.uer.ca/locations/newlist.asp

http://urbexobsession.com/

https://www.facebook.com/UrbanExplorationUS

https://instagram.com/urbexpeople/?hl=en

If you are looking for some inspiration,  Jonny Joo website is full of beautiful photographies that can help you.

So, the end of the month is almost there, are you ready for taking scaring terrifying halloween phtotos? Please do not hesitate to post them here, or on my Facebook page, I’ll be happy to see them and sharing  them 😉

Photo credits: Flickr

How I became a Photographer – the Begins –

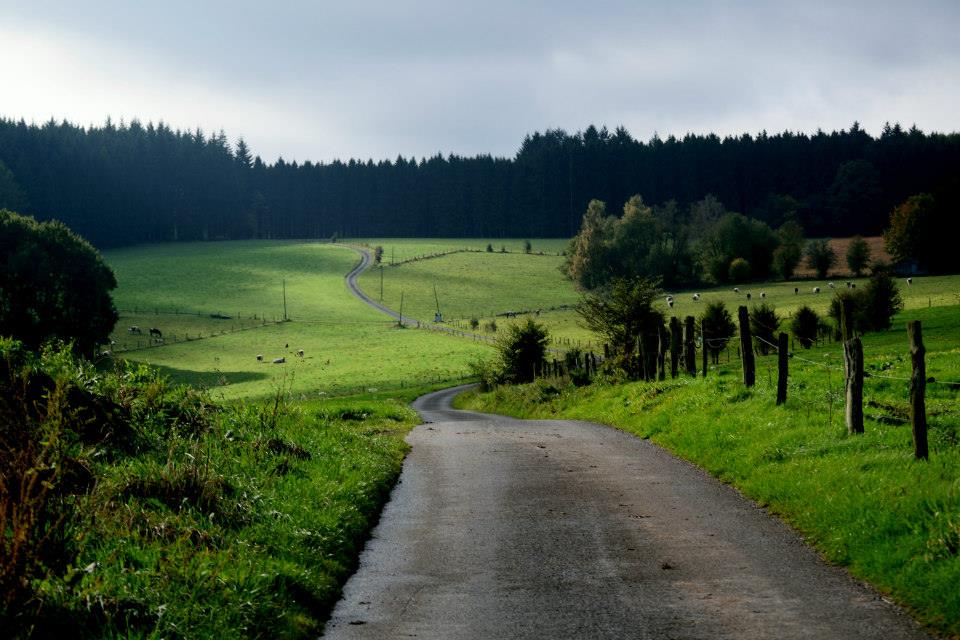
nature landscape in the ardennesEverything started in 2014, when while on a trip in Scotland I decided to take with me my father’s old camera. I had some souvenirs of myself when I was a kid and used to ask him if I could borrow his camera and go out and take some pictures. I could feel the excitement when pulling the film and hearing the “click” in the hope that the photo taken was a good one. Then the curiosity and the anxiety would take place while waiting at the shop for the results on the developed film.

I received my  first camera when I was 6 years old, my dad, and I remember how I was fond of it, I received then a compact olympus, but I was really satisfied when I could finally use the old dad’s reflex, wow, that was a completely different matter.

Then, I grow up and I stopped taking pictures. Why?  Good Question. I don’t know, I remember I always had the idea that a photographer was someone that took weddings photography, people, fashion, and I wasn’t really interested by all that. Actually, I’m not good in interacting with people, asking them to take this or that position, to pose without moving, I don’t like giving orders, even if those directions are essentials into achieving a good photo. So, I went to college, got an university degree in English and French literature, found a job, got married we had a little girl and just continued to live my life as all my family was expecting me to do.

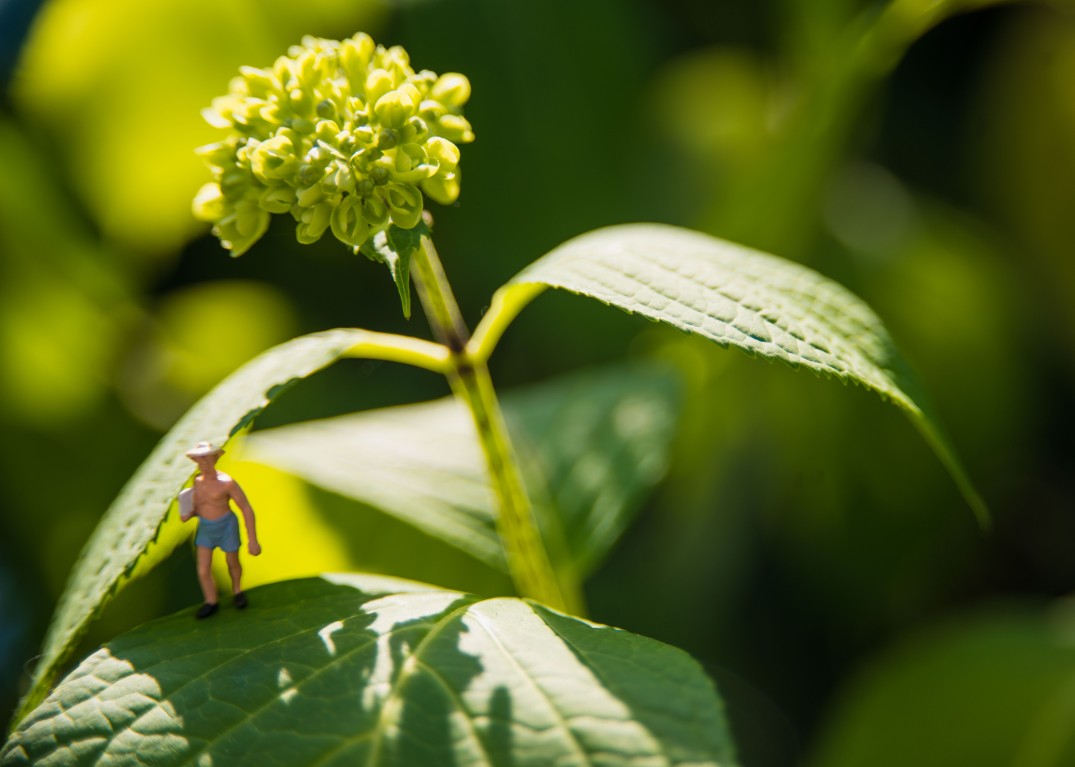
smurfs toys macro photography

However, I was aware that something was missing, but what? I had the impression that I needed to create I needed something different. As I loved reading I started writing stories, I finished a first novel, which is not a best seller but I’m proud of having done it, I started writing a second one with a friend which is not finished yet and I don’t think it’ll be finished soon. But I was still missing something, until when the destiny brought me on the road that I had abandoned 25 years ago and almost lost.

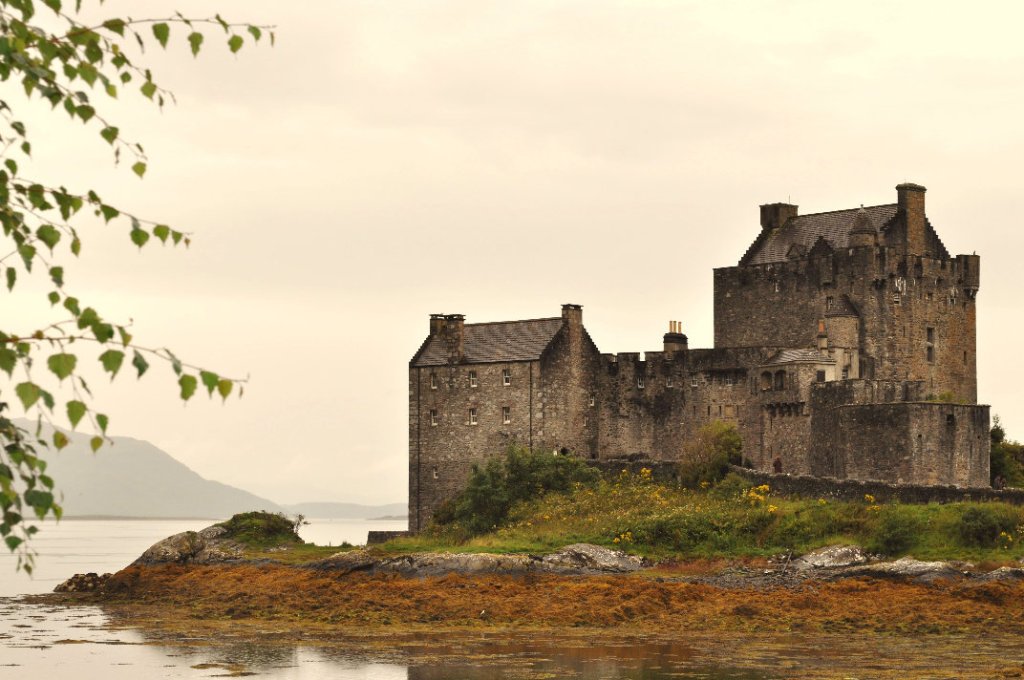
Scotland Castle by Fran J. Lotti

Two years ago with my best friend we planned a trip to Scotland, it wasn’t our first one, Scotland is one of my favourite places in Europe, but that would have been a different trip. Before leaving, as I was visiting my  father, I found his old reflex camera in a closet and asked if I could take it for the holiday, actually he gave it to me because he wasn’t using it anymore. I bought some films, prepared my travel bag and started reading articles about exposure, opening, focusing etc.. and got really confused. However I was confident, I used to photograph with that camera as I was a kid, so, why could’t I do it again, right?

During my trip I used 2 films a colour one and a black and white one. Actually, the colour one was not fixed correctly, so there were no pictures in it. Yes, those are the surprises of argentine photography, but the black and white was correctly inserted and something like 4 photos on the 36 poses I had taken were nice. But the really important thing weren’t my photos,it was that I felt it, I felt the excitement, the happiness, the curiosity that I used to feel when taking pics as a kid. I knew that this was what I was missing and I needed more, I wanted to take more pictures, I wanted to learn, to leave my testimony, to create, to expose, to print, I wanted everything, but most of all I wanted a new camera.

nikon d800 and lenses
This is the equipment I have today.

9 Photo Composition Tips From Steve McCurry

I’ve just read this article on PopPhoto website, and loved the tips. Even if we’ve studied and read and reviewed the composition rules, I still think that it’s a tricky part of photography.

Maybe I’m the only one that is struggling with it, and you have no problems, but sometimes when I’m out there in the field and I have this awesome sunset, or landscape or beautiful shimmering light, I’m so stressed to set the right exposition settings, and take my photo before the light vanishes, that I forget to really take the time and study my composition; followi the rules of third, or expressly breaking those rules. The result? When I see my pictures, my exposure and is fine, but the composition is not at all what I would’ve liked to have. Which finally it means that my image is only 1/2 satisfying one, yes I probably had done nice technical exercise and well set my camera, but would I be ready to print and hang that picture on my wall at home? NO. So, if you have the same problem as I have and you still need to get trained to achieve nice compositions, this is a useful reminder.

Thanks Steve Mc Curry for sharing those tips with us!

Have a nice day all of you!

xoxo

Lu

How to take awesome LEGO photos

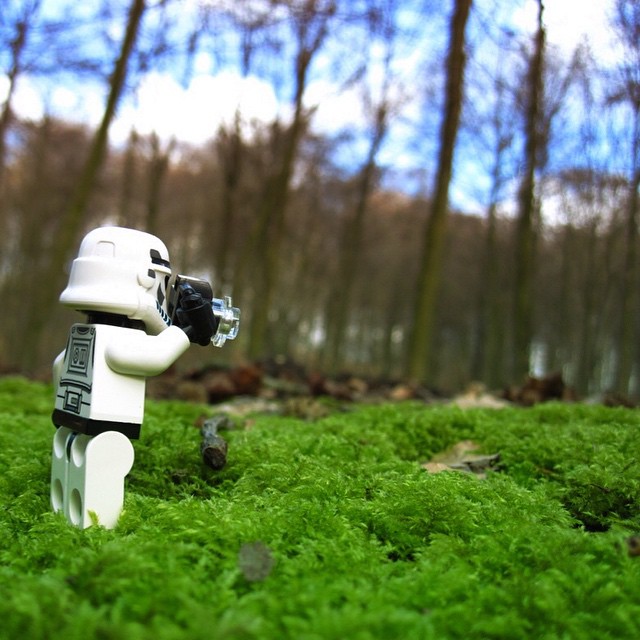
Lego minifigures photography by Lucy J Hamilton

I’ve received this video from tookapic, and I think is really awesome as easily explained.

If you follow my Instagram profile, you probably know that I have a lot of fun taking pictures using toys, as Lego, or others figurines. I usually do it outdoor, I like to place my toys in the real world, as they were really living among us. However, sometimes , when it’s too rainy or really really cold, or because I’m too lazy to go out, I install a mini studio on my desk and take some photos trying to set nice scenarios. As Lego are really small, a simple coloured A4 sheet is enough to create my background, is cheap and I can have all the colours I need,  but this video is really more fun! It shows you how to create a great photo studio with a Pizza box and other cheap accessories. So, enjoy and welcome to the toys photography world !

publish-5167

If you love this kind of photography, you can also take a look at Mike Stimpson website, he takes amazing Lego photos and on his Flickr setup account, where he explain how he took them 🙂 be inspired!

Note: If you like toys photography, maybe you’ll also like the personalised mugs  with my photographs!

PS. You can also use the same technique with other toys than Lego minifigures.

Toys artistry photography Lucy J Hamilton